
Customization Process of Acrylic Frames for Wall
Acrylic frames have become increasingly popular for wall decorations due to their sleek, modern appearance and versatility. Customizing these frames allows individuals to tailor them to their specific tastes and interior design preferences. The customization process involves several steps, from initial design and material selection to final installation. Below is a detailed breakdown of the customization process of acrylic frames for wall decoration.
1. Initial Consultation and Conceptualization
The customization process begins with an initial consultation between the client and the manufacturer or designer. During this stage, the client communicates their vision, preferences, and requirements for the acrylic frames. Key considerations include:
Purpose: Determine the intended use of the frame, whether for displaying artwork, photographs, or other decorative elements.
Style: Discuss the overall style, such as modern, minimalist, vintage, or bespoke designs.
Size: Decide on the dimensions of the frame, taking into account the available wall space and the size of the item to be framed.
Color and Finish: Choose the color and finish of the acrylic material, such as clear, tinted, matte, or glossy.
Budget: Establish a budget range to guide the selection of materials and design complexity.
Designers often use mood boards, sketches, or digital renderings to help clients visualize the final product. This stage is crucial for setting the foundation for the entire customization process.
2. Material Selection
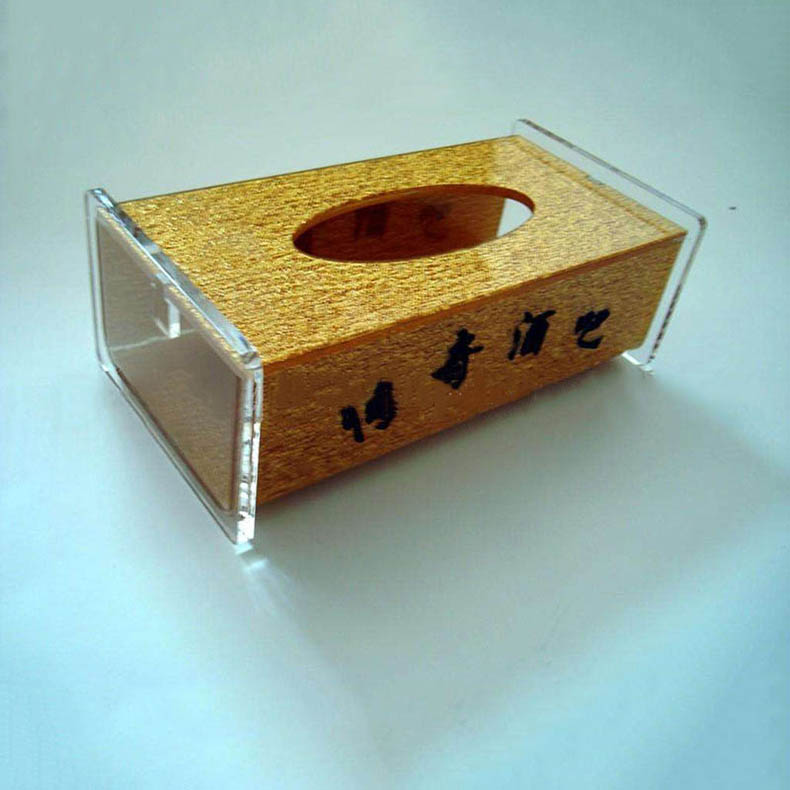
Acrylic frames are primarily made from polymethyl methacrylate (PMMA), a transparent thermoplastic known for its clarity, durability, and lightweight properties. During the material selection phase, clients can choose from various types of acrylic:
Clear Acrylic: Offers a glass-like appearance with high transparency.
Colored Acrylic: Available in a wide range of hues to match or contrast with the wall and room decor.
Textured Acrylic: Features patterns or frosted finishes for added visual interest.
UV Filter Acrylic: Provides protection against UV rays, preserving the quality of the framed content.
Additional materials, such as backing boards, mounting hardware, and protective films, are also selected to complement the acrylic frame.
3. Design and Digital Mockup
Once the initial consultation and material selection are complete, designers create a detailed digital mockup of the acrylic frame. This step involves using computer-aided design (CAD) software to render a 3D model of the frame, allowing clients to see how the final product will look. Key aspects of the design process include:
Frame Dimensions: Precise measurements for height, width, and depth.
Joint and Edge Details: Design of corners and edges, such as mitered, beveled, or seamless joints.
Mounting and Display Options: Incorporation of hanging mechanisms, such as wires, hooks, or stand-offs.
Decorative Elements: Addition of embellishments, such as engraved patterns, logos, or text.
Clients review the digital mockup and provide feedback for any desired changes. This iterative process ensures that the final design meets the client’s expectations.
4. Fabrication and Manufacturing
With the final design approved, the manufacturing process begins. Acrylic sheets are cut to the specified dimensions using precision tools such as laser cutters or saws. The edges are polished and finished to achieve the desired appearance and smoothness. Key steps in the fabrication process include:
Cutting: Acrylic sheets are cut to size using computer numerical control (CNC) machines or laser cutters for precision.
Polishing: Edges are polished using flame polishing, buffing, or sanding techniques to remove any imperfections.
Assembly: Frame components are assembled using strong adhesives or mechanical fasteners to ensure stability and durability.
Decorative Features: Any engraving or decorative elements are added using laser engraving machines or other specialized tools.
Quality control checks are performed throughout the manufacturing process to ensure that the acrylic frames meet the required standards of clarity, finish, and structural integrity.
5. Surface Treatment and Finishing
After assembly, the acrylic frames undergo surface treatment and finishing to enhance their appearance and
durability. This step is crucial for achieving a high-quality, professional finish that enhances the aesthetic appeal of the frame. Key aspects of surface treatment and finishing include:
Cleaning: The frames are thoroughly cleaned to remove any dust, fingerprints, or manufacturing residues. Specialized cleaning solutions and techniques, such as using isopropyl alcohol and lint-free cloths, are employed to ensure a pristine surface.
Protective Coatings: A protective film or coating may be applied to the acrylic surface to guard against scratches, UV degradation, and other environmental factors. Options include anti-static films, UV-resistant coatings, and scratch-resistant layers.
Finishing Touches: Any additional decorative elements, such as metallic accents, resin inlays, or painted details, are applied and cured. This step ensures that the final product reflects the client’s design vision and complements the overall decor.
6. Quality Assurance and Testing
Before delivering the customized acrylic frames to the client, a comprehensive quality assurance (QA) process is conducted. This step involves rigorous testing to ensure that the frames meet the specified standards for durability, functionality, and aesthetic quality. Key QA activities include:
Structural Testing: The frames are subjected to load-bearing tests to assess their strength and stability. This is particularly important for larger frames that may be used to display heavier items.
Visual Inspection: A detailed visual inspection is performed to check for any imperfections, such as scratches, bubbles, or inconsistencies in the finish. Any defects are addressed before the product is approved for delivery.
Functionality Testing: The mounting and hanging mechanisms are tested to ensure they function smoothly and securely. This includes checking that the frames can be easily installed and that they remain stable on the wall.
Client Approval: If possible, the client is provided with a sample or a final preview of the frame before full production. This allows for any last-minute adjustments and ensures that the client is satisfied with the final product.
7. Packaging and Delivery
Once the acrylic frames pass the quality assurance process, they are carefully packaged to prevent damage during transit. Packaging materials, such as foam padding, bubble wrap, and sturdy boxes, are used to protect the frames. Additional steps in the packaging process include:
Custom Inserts: Custom-fit inserts or separators are used to ensure that each frame component remains in place and does not come into contact with other items.
Labels and Documentation: Clear labels indicating the contents, handling instructions, and client information are attached to the packaging. This ensures that the frames are easily identifiable and handled with care during shipping.
Delivery Coordination: The manufacturer coordinates with logistics providers to arrange for the delivery of the frames. Depending on the client’s location, this may involve local courier services, freight shipping, or international logistics.
8. Installation and Final Adjustments
Upon delivery, the final step in the customization process involves the installation of the acrylic frames on the wall. Professional installation services may be offered by the manufacturer or a third-party provider to ensure that the frames are securely and aesthetically installed. Key aspects of the installation process include:
Wall Preparation: The installation area is prepared by cleaning the wall surface and ensuring that it is free of dust, dirt, or loose paint. This step is crucial for achieving a secure, long-lasting attachment.
Mounting Hardware: The appropriate mounting hardware, such as screws, anchors, or adhesive strips, is selected based on the type of wall and the weight of the framed item. The hardware is securely installed according to the manufacturer’s instructions.
Frame Alignment: The acrylic frame is carefully aligned on the wall to ensure that it is level and centered. This step may involve the use of a level, measuring tape, and other tools to achieve precise alignment.
Final Inspection: Once the frame is installed, a final inspection is performed to check for any issues, such as gaps, misalignment, or loose connections. Any necessary adjustments are made to ensure a flawless installation.
Conclusion
The customization process of acrylic frames for wall decoration is a meticulous and collaborative endeavor that involves several key stages, from initial consultation and design to final installation. By carefully considering each step, clients can achieve a personalized, high-quality product that enhances their living or working space. The combination of advanced materials, precision manufacturing, and attention to detail ensures that custom acrylic frames not only serve a functional purpose but also make a bold and stylish statement.