

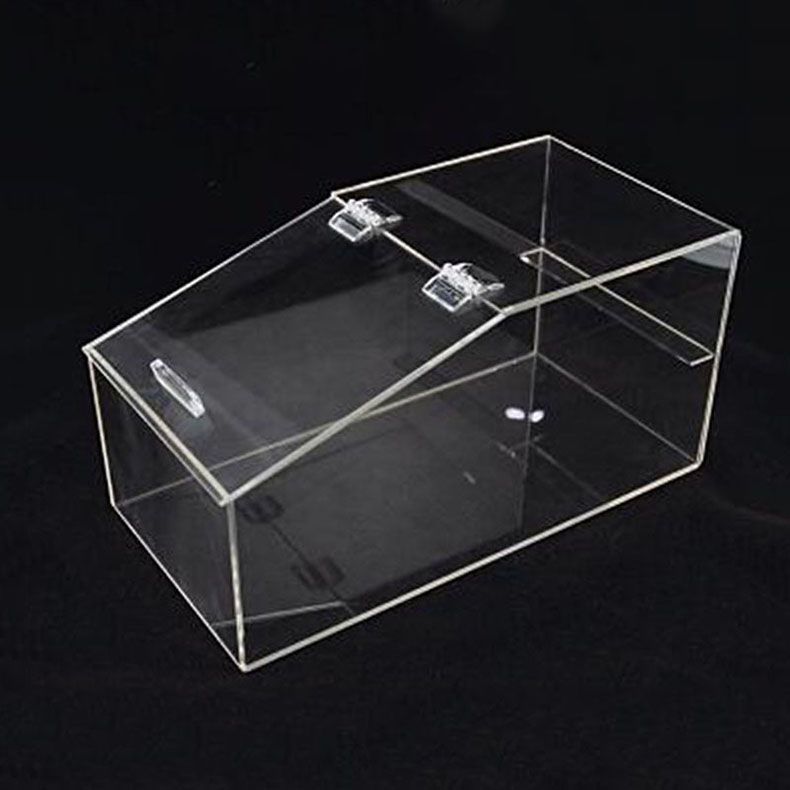
How to Make an Acrylic Wall Sign Holder (8.5" x 11")
Acrylic wall sign holders are a versatile and professional way to display important documents, posters, or signs. They are commonly used in offices, schools, retail stores, and other businesses. Making your own acrylic wall sign holder can be a rewarding project, especially if you want a custom size or design. Below is a comprehensive guide on how to create an 8.5" x 11" acrylic wall sign holder.
Materials Needed
To make an 8.5" x 11" acrylic wall sign holder, you will need the following materials:
Acrylic Sheets:
Two (2) clear or frosted acrylic sheets, 8.5" x 11" in size. These will form the front and back panels of the sign holder. If you want a colored holder, you can purchase acrylic sheets in your desired color.
Acrylic Edging Strips:
Two (2) acrylic strips, 8.5" in length, to seal the top and bottom edges of the sign holder.
Two (2) acrylic strips, 11" in length, to seal the left and right edges of the sign holder.
Acrylic Adhesive or Tape:
High-quality acrylic adhesive or double-sided tape to bond the acrylic pieces together securely. Ensure the adhesive is transparent or matches the color of your acrylic.
Wall Mounting Hardware:
Two (2) wall-mounting brackets (L-brackets or D-ring hangers are commonly used).
Screws and wall anchors (depending on the type of wall you are mounting on).
Tools:
Measuring tape
Pencil
Ruler or straight edge
Scissors or utility knife for cutting acrylic strips
Sandpaper or a file (optional) for smoothing edges
Level (for mounting the sign holder)
Drill and drill bits (for making pilot holes)
Screwdriver or power drill
Step-by-Step Instructions
Step 1: Gather Your Materials
Before starting, ensure you have all the materials and tools listed above. Clear acrylic sheets are recommended for maximum transparency, but frosted or colored acrylic can also be used for a unique look.
Step 2: Prepare the Acrylic Sheets
Measure and Mark: Use a measuring tape and pencil to mark the edges of the 8.5" x 11" area on both acrylic sheets.
Cut the Sheets: If the acrylic sheets are slightly larger than 8.5" x 11", carefully cut them to size using a utility knife or scissors (for thinner acrylic). For thicker acrylic, use a rotary cutter or ask a professional to cut the sheets for you.
Smooth the Edges: Use fine-grit sandpaper or a file to smooth any rough edges on the acrylic sheets. This step ensures the sign holder has a polished look and is safe to handle.
Step 3: Attach the Edging Strips
Measure and Cut the Edging Strips:
Two strips should be 8.5" long (top and bottom edges).
Two strips should be 11" long (left and right edges).
Apply Adhesive:
Use acrylic adhesive or double-sided tape along the edges of the acrylic strips.
Ensure the adhesive is evenly applied for a strong bond.
Attach the Edging Strips:
Carefully place the 8.5" edging strips along the top and bottom edges of one acrylic sheet, pressing firmly to secure.
Repeat for the 11" edging strips on the left and right sides. Ensure the edges are straight and aligned using a ruler or straight edge.
Bond the Second Sheet:
Align the second 8.5" x 11" acrylic sheet with the first sheet (inside the edging strips). Press firmly to bond the two sheets together.
You can use additional acrylic adhesive or tape along the edges if needed for extra support.
Step 4: Install Wall Mounting Hardware
Choose the Mounting Hardware:
For an 8.5" x 11" sign holder, L-brackets or D-ring hangers are commonly used. These can be attached to the back of the sign holder.
Mark the Mounting Holes:
Use a pencil to mark the locations for the mounting hardware on the back of the sign holder. For L-brackets, mark the top corners near the edges. For D-ring hangers, mark the top center.
Drill Pilot Holes:
Use a drill with a small bit to create pilot holes at the marked locations.
Attach the Hardware:
Insert the screws through the pilot holes and secure the L-brackets or D-ring hangers to the back of the sign holder. Tighten the screws securely.
Step 5: Mount the Sign Holder on the Wall
Choose the Location:
Select a wall location where the sign holder will be easily visible and accessible. Measure the height and distance from other objects to ensure proper placement.
Mark the Wall Mounting Points:
Hold the sign holder against the wall and use a pencil to mark the locations of the mounting screws. Use a level to ensure the sign holder will be mounted straight.
Drill Wall Holes:
Drill pilot holes at the marked locations on the wall. If mounting on drywall, use wall anchors for added stability.
Attach the Sign Holder:
Insert the screws through the L-brackets or D-ring hangers and into the wall pilot holes. Tighten the screws securely to mount the sign holder.
Tips for Making a Professional Acrylic Wall Sign Holder
Use High-Quality Acrylic:
Higher-quality acrylic sheets will last longer and have fewer imperfections like scratches or cloudiness.
Measure Twice, Cut Once:
Double-check all measurements before cutting the acrylic sheets or edging strips to ensure a perfect fit.
Smooth All Edges:
Smoothing the edges of the acrylic sheets and strips will give your sign holder a polished, professional look.
Test the Fit:
Before attaching the edging strips or backing, test the fit of the acrylic sheets together to ensure they align perfectly.
Consider Optional Features:
For added durability, you can use metal or wooden edging strips instead of acrylic. You can also add corner protectors for a more finished look.
Customize the Design:
You can engrave or print designs on the acrylic sheets for a unique sign holder. This is ideal for branding in businesses or personalizing for events.
Final Thoughts
Creating an 8.5" x 11" acrylic wall sign holder is a straightforward project that can be completed in a few hours with the right tools and materials. The result is a professional and durable sign holder that can be used in a variety of settings. Whether you’re displaying a menu in a restaurant, a poster in a classroom, or a document in an office, a custom acrylic sign holder adds a touch of elegance and functionality to your space.
By following this step-by-step guide, you can design and build an acrylic wall sign holder that meets your specific needs. With careful planning and attention to detail, your sign holder will be a stylish and practical addition to any space.