

Acrylic table aquariums have gained immense popularity in recent years due to their clarity, durability, and the ability to be molded into various shapes. These aquariums provide a beautiful and practical way to bring the charm of the underwater world into homes and offices. The process of making an acrylic table aquarium involves several key steps, from design to the final product.
Design Phase
The first step in creating an acrylic table aquarium is the design process. Designers work closely with clients or follow market trends to come up with the most suitable design. They consider factors such as the size of the aquarium, its shape (rectangular, circular, or custom - shaped), and the intended location where it will be placed.
The design also takes into account the functionality of the aquarium. For example, it needs to have proper filtration and aeration systems. Additionally, the aesthetic aspects are carefully planned, including the thickness of the acrylic walls, which affects both the strength and the visual appeal. Computer - aided design (CAD) software is often used to create detailed 3D models of the aquarium, allowing for precise measurements and visualization of the final product.
Material Selection
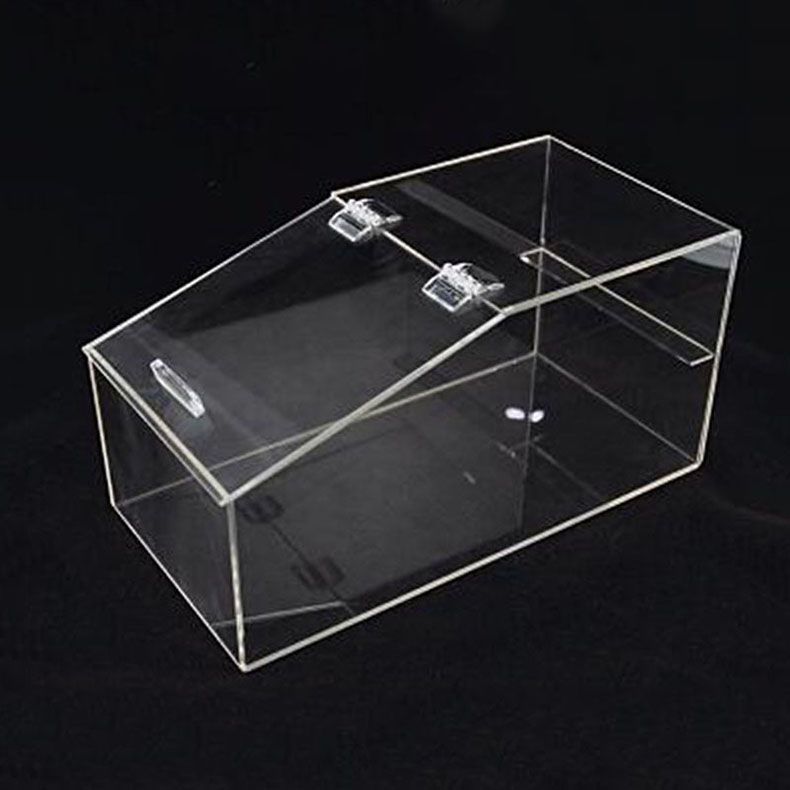
Acrylic, or polymethyl methacrylate (PMMA), is the primary material used for table aquariums. There are different grades of acrylic available, and the manufacturer must select the appropriate one based on the requirements of the aquarium. High - quality acrylic is preferred for its optical clarity, which allows for an unobstructed view of the fish and the aquatic environment inside.
It also has excellent impact resistance compared to glass, making it less likely to break. The thickness of the acrylic sheets is determined by the size and the water - holding capacity of the aquarium. Larger aquariums require thicker acrylic to withstand the pressure exerted by the water.
Cutting the Acrylic
Once the design is finalized and the acrylic material is selected, the next step is cutting the acrylic sheets into the required shapes. Laser cutting is a commonly used method because it offers high precision. The laser beam melts through the acrylic, following the pattern designed in the CAD software. This results in clean and accurate cuts, even for complex shapes.
Another method is mechanical cutting, which uses saws or routers. Mechanical cutting is suitable for simpler shapes and larger production runs. After cutting, the edges of the acrylic pieces are often smoothed to remove any rough or sharp parts.
Forming and Bending
In some cases, the acrylic needs to be formed or bent to achieve the desired shape of the aquarium. This is typically done by heating the acrylic to a specific temperature at which it becomes pliable. For simple bends, a strip heater can be used to heat a narrow area of the acrylic, allowing it to be bent into shape.
For more complex forms, a vacuum forming machine may be employed. The heated acrylic sheet is placed over a mold, and a vacuum is applied to suck the sheet onto the mold, creating the desired shape. Once the acrylic cools down, it retains its new form.
Assembly
After the individual acrylic pieces are cut and formed, they are ready to be assembled. The most common way to join acrylic pieces is by using a special acrylic adhesive. This adhesive chemically bonds the acrylic parts together, creating a strong and watertight seal.
The assembly process requires careful alignment of the pieces to ensure that the aquarium is square and level. The joints are often reinforced to prevent any leakage. In addition to the main body of the aquarium, other components such as the base, lids, and filtration compartments are also assembled at this stage.
Installation of Filtration and Aeration Systems
A proper filtration and aeration system is essential for maintaining a healthy environment for the fish in the aquarium. The filtration system helps to remove debris, waste, and harmful chemicals from the water, while the aeration system provides oxygen to the water.
The filtration system may include mechanical, biological, and chemical filtration components. These are installed inside the aquarium or in a separate sump, depending on the design. The aeration system usually consists of air pumps and air stones, which are placed strategically in the aquarium to ensure proper oxygen distribution.
Quality Control
Before the aquarium is ready for sale, a strict quality control process is carried out. The aquarium is filled with water to check for any leaks. The joints are carefully inspected to ensure that they are watertight.
The clarity of the acrylic is also examined for any scratches, bubbles, or other defects. The functionality of the filtration and aeration systems is tested to make sure they are working properly. Any aquariums that do not meet the quality standards are either repaired or discarded.
Finishing Touches and Packaging
Once the aquarium passes the quality control test, it is given some finishing touches. This may include adding decorative elements such as stickers or labels, and cleaning the acrylic to make it look its best.
The aquarium is then carefully packaged for shipping. Special packaging materials are used to protect the acrylic from scratches and damage during transit. Foam inserts and cardboard boxes are commonly used to provide cushioning and support.
In conclusion, the process of making an acrylic table aquarium is a complex and precise one. It involves a series of steps from design to packaging, each requiring careful attention to detail to ensure the final product is of high quality, both in terms of functionality and aesthetics. With the right materials and manufacturing techniques, acrylic table aquariums can provide a long - lasting and beautiful home for aquatic life.