

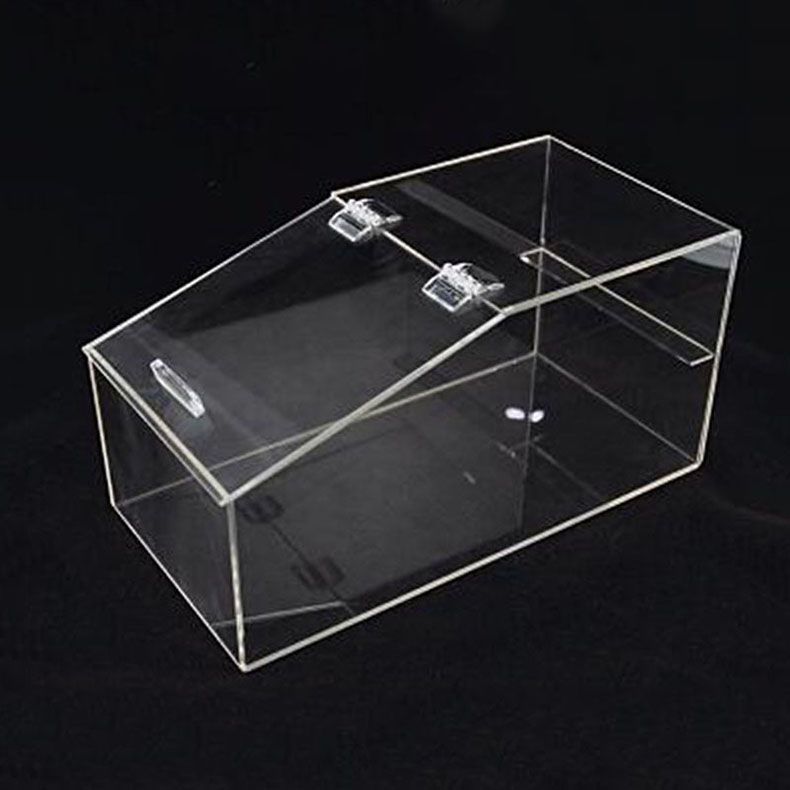
Acrylic table stands are popular for their sleek appearance, durability, and versatility. They can be found in various settings, from retail stores to home decor. Understanding the process of making an acrylic table stand can provide insights into its quality and design. Here is a detailed account of how an acrylic table stand is typically made.
1. Design Planning
The first step in making an acrylic table stand is the design phase. Designers use computer - aided design (CAD) software to create a detailed blueprint of the stand. They consider factors such as the size, shape, and function of the stand. For example, if it is for displaying products in a store, the design will need to accommodate the size and weight of the items. The angle of the display, the number of shelves, and any additional features like compartments or hooks are also carefully planned at this stage. Designers may also collaborate with clients to ensure that the final product meets their specific requirements.
2. Material Selection
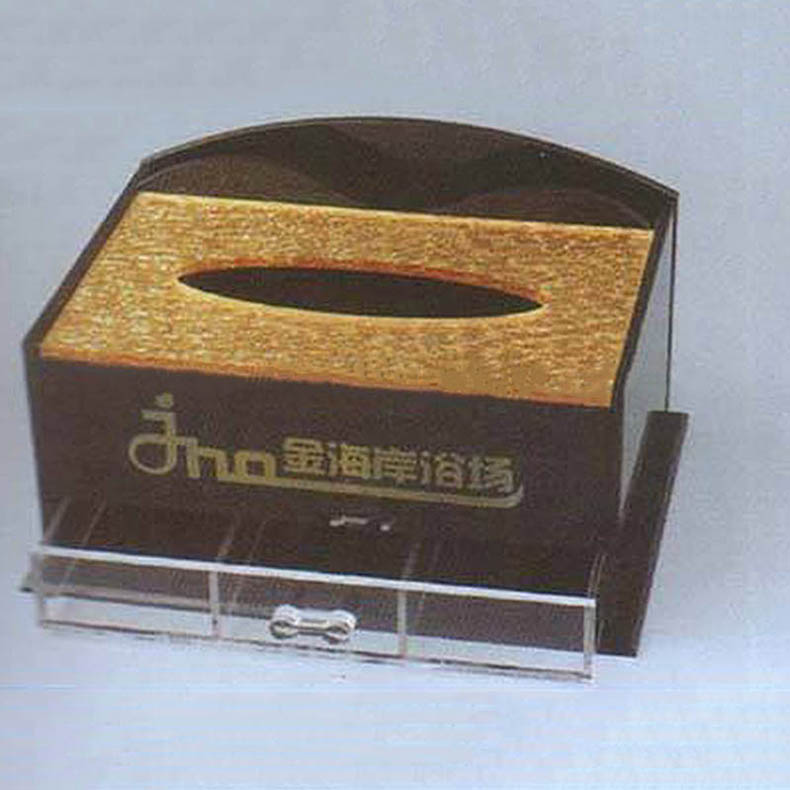
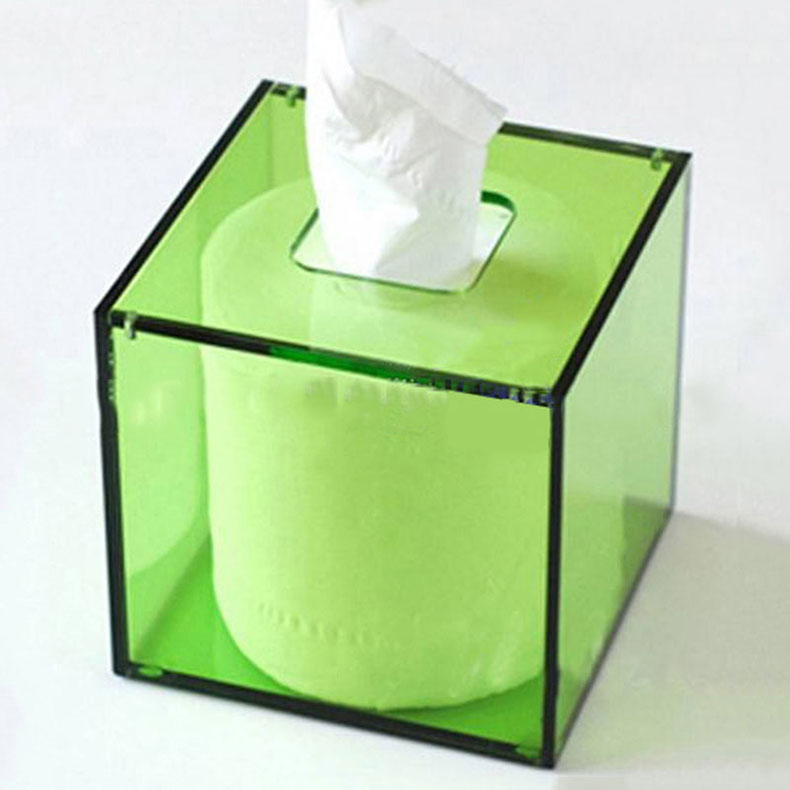
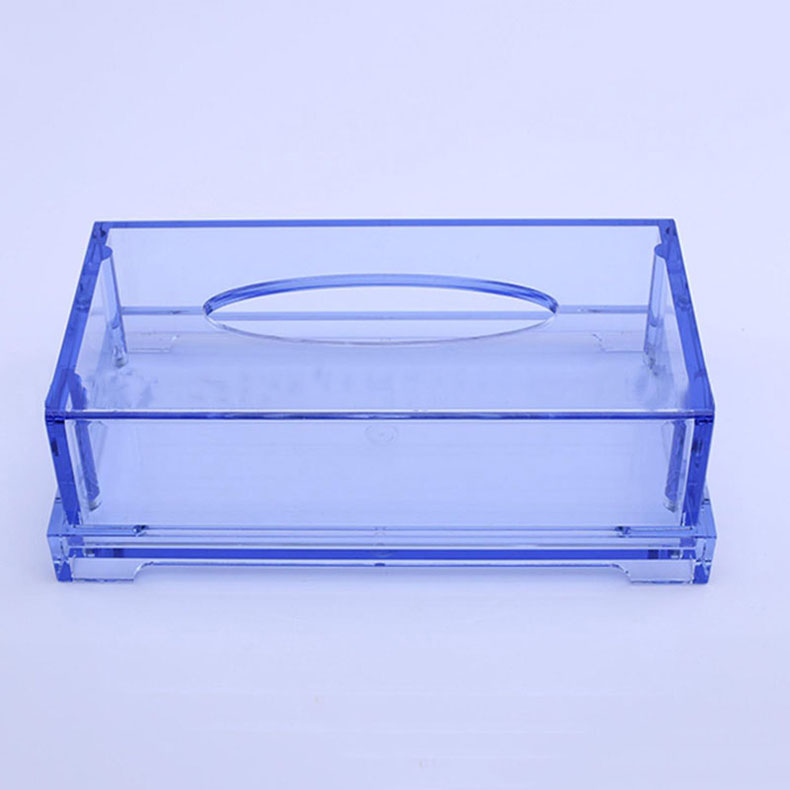
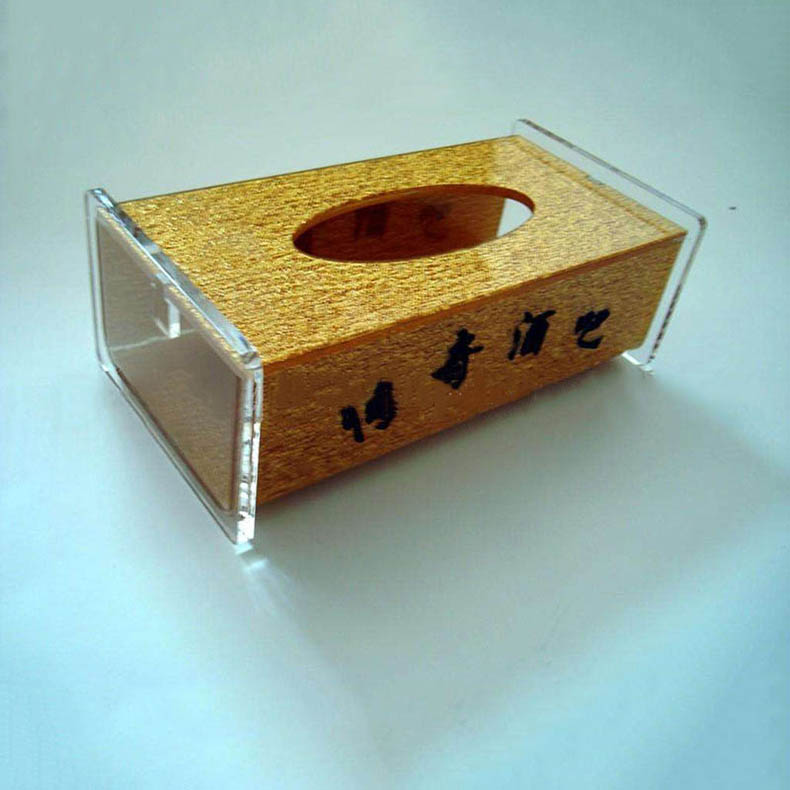
Once the design is finalized, the appropriate acrylic material is selected. Acrylic, also known as polymethyl methacrylate (PMMA), comes in different grades and thicknesses. High - quality acrylic is chosen for table stands to ensure clarity, strength, and resistance to scratches. The thickness of the acrylic is determined by the size and weight - bearing capacity of the stand. Thicker acrylic is used for larger stands or those that need to support heavier items. Additionally, the color of the acrylic can be selected according to the design and aesthetic preferences. Clear acrylic is the most common choice as it provides a modern and transparent look, but colored acrylic can also be used to create a more vibrant or distinctive appearance.
3. Cutting the Acrylic
After the material selection, the acrylic sheet is cut into the required shapes and sizes. There are several cutting methods available. One common method is using a laser cutter. Laser cutting offers high precision and clean edges. The CAD design is transferred to the laser cutter, which then uses a high - powered laser beam to cut through the acrylic. This method is suitable for creating intricate and detailed shapes. Another method is mechanical cutting, which involves using a saw or a router. Mechanical cutting is more cost - effective for simple shapes and large - scale production. However, it may require additional finishing to smooth the edges.
4. Edge Finishing
Once the acrylic pieces are cut, the edges need to be finished. Rough edges can be sharp and unappealing, and they may also weaken the structure of the stand. There are different edge - finishing techniques. Flame polishing is a popular method where a flame is passed over the edges of the acrylic. The heat from the flame melts the surface of the acrylic slightly, resulting in a smooth and glossy finish. Another method is sanding, which involves using progressively finer grits of sandpaper to smooth the edges. Sanding can be used to achieve a matte or satin finish, depending on the desired look.
5. Assembly
After the individual acrylic pieces are cut and their edges are finished, it is time to assemble the table stand. Adhesives are commonly used to join the acrylic pieces together. There are special acrylic adhesives that create a strong and clear bond. The pieces are carefully aligned according to the design, and the adhesive is applied to the contact surfaces. Clamps or fixtures may be used to hold the pieces in place while the adhesive dries. In some cases, mechanical fasteners such as screws or nuts and bolts can also be used, especially for larger or more complex stands.
6. Surface Treatment
Once the stand is assembled, surface treatment may be applied to enhance its appearance and durability. A protective coating can be applied to make the stand more resistant to scratches and UV rays. This is particularly important if the stand will be used in a location with direct sunlight. Additionally, the surface can be polished to achieve a high - gloss finish, making the stand look more professional and attractive.
7. Quality Inspection
Before the acrylic table stand is ready for the market, a thorough quality inspection is carried out. The stand is checked for any defects such as cracks, bubbles, or uneven edges. The structural integrity is also tested to ensure that it can support the intended weight. The dimensions are measured to ensure that they match the design specifications. Any defective products are either repaired or discarded.
In conclusion, making an acrylic table stand is a multi - step process that requires careful planning, precise manufacturing techniques, and strict quality control. From the initial design to the final inspection, each step plays a crucial role in creating a high - quality and functional acrylic table stand.