
How to Customize Transparent Acrylic Display Box 45454.5
Introduction
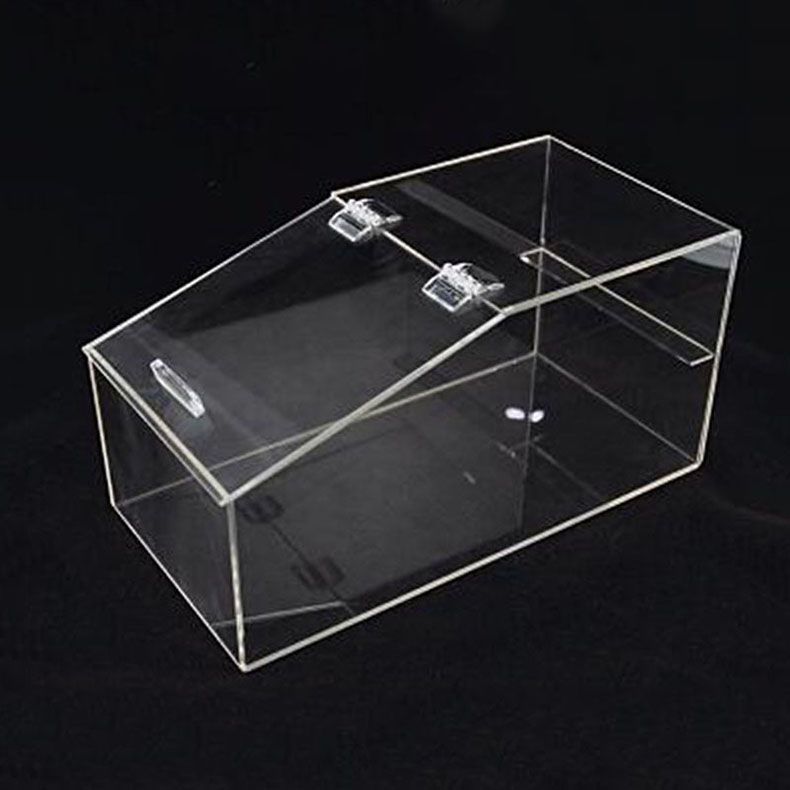
Transparent acrylic display boxes with dimensions of 45454.5 are popular for showcasing various items, from jewelry to collectibles. Customizing these boxes allows you to meet specific display needs and add a unique touch. This guide will walk you through the process of customizing such a display box.
Step 1: Define Your Purpose
First, clearly determine what you will use the display box for. Are you showcasing a single high - end piece of jewelry, a set of small figurines, or promotional items? Understanding your purpose will help you decide on features like internal partitions, lighting, and the overall style of the box. For example, if it’s for jewelry, you may want a soft velvet lining to protect the pieces and enhance their appearance.
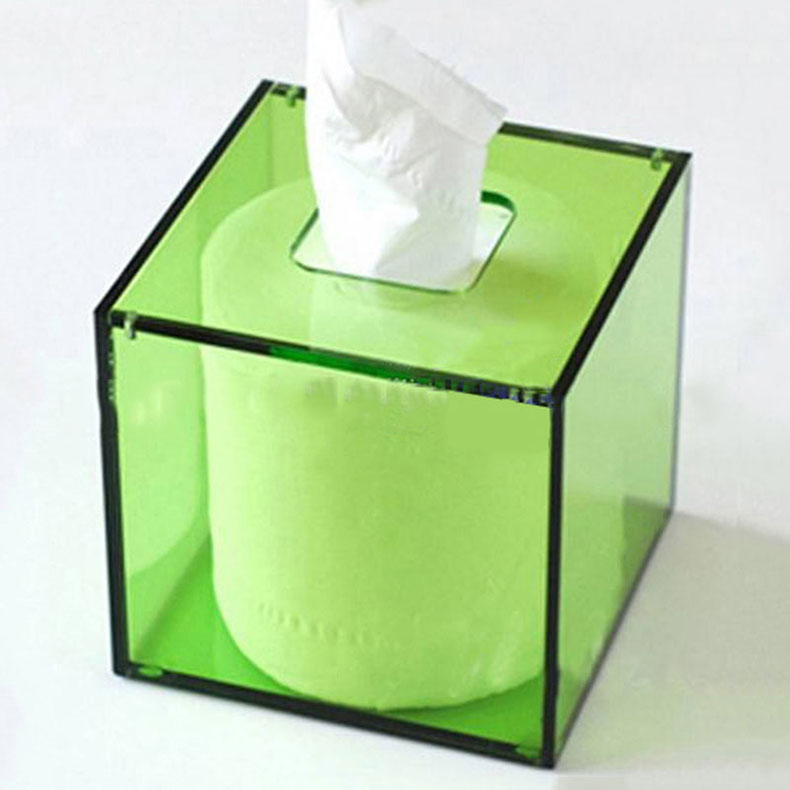
Step 2: Select the Right Acrylic Material
There are different types of acrylic available in the market. Cast acrylic is known for its excellent optical clarity and scratch resistance, making it a great choice for display boxes. Extruded acrylic is more cost - effective but may have slightly lower clarity. Choose a thickness that suits your needs. For a 45454.5 box, a standard thickness of 3 - 5mm is usually sufficient. Make sure the acrylic has a smooth finish to ensure a professional look.
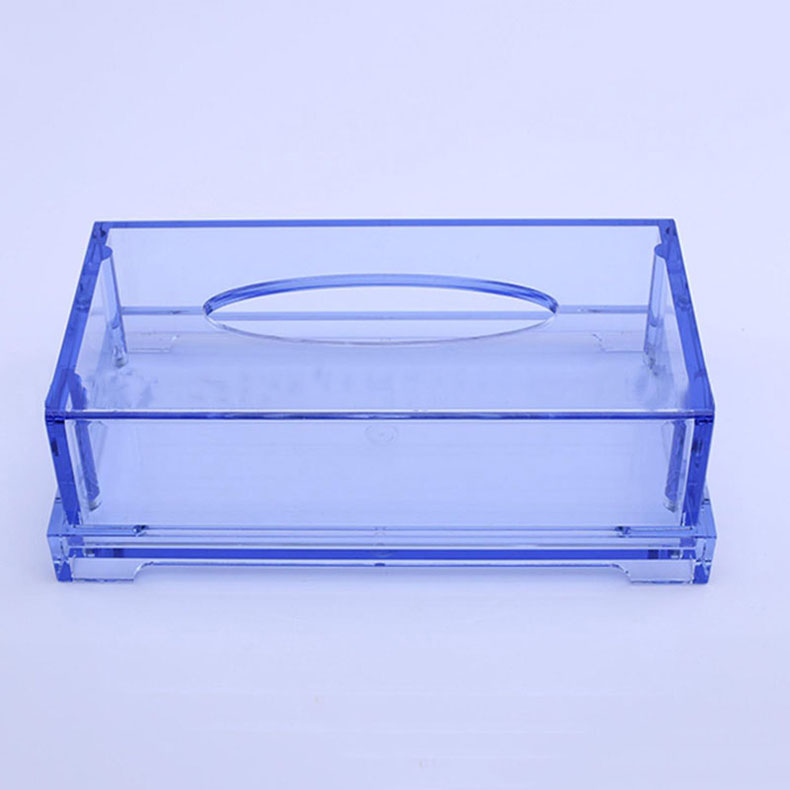
Step 3: Design the Box Structure
Dimensions and Shape
The basic dimensions of the box are 45454.5, but you can still make some adjustments. You might want to add a beveled edge for a more elegant look or create a slightly different shape, such as a rounded corner. Use design software like Adobe Illustrator or Sketch to create a detailed 2D or 3D model of your box. This will help you visualize the final product and make any necessary changes before production.
Internal Layout
If you need internal partitions, plan their size and placement carefully. Consider the size and shape of the items you will display. For example, if you are showing different sizes of coins, you can create partitions of various widths. You can also add shelves or tiers to display multiple items at different levels.
Step 4: Choose Customization Elements
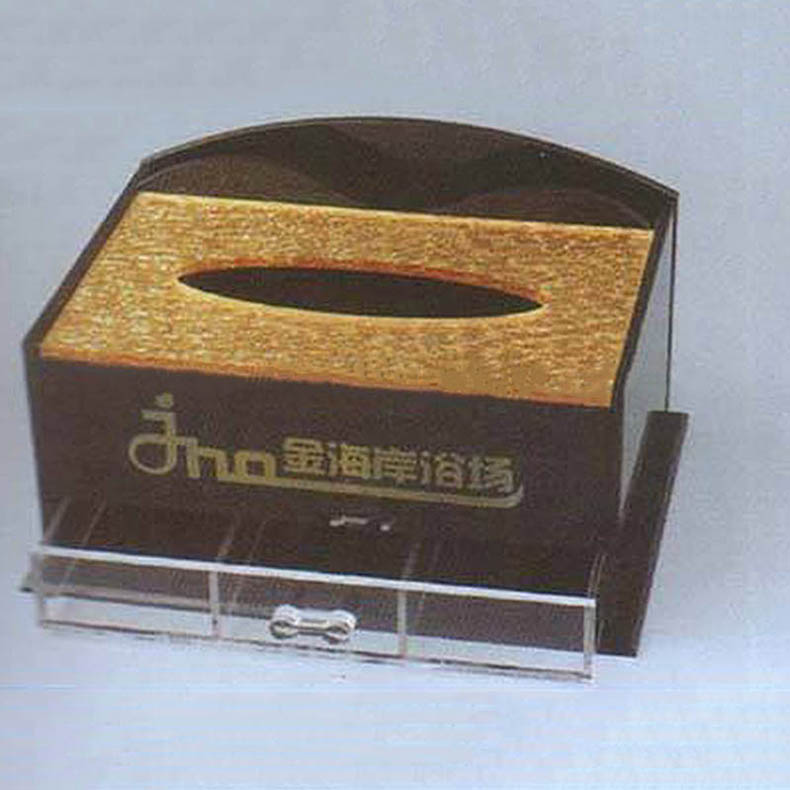
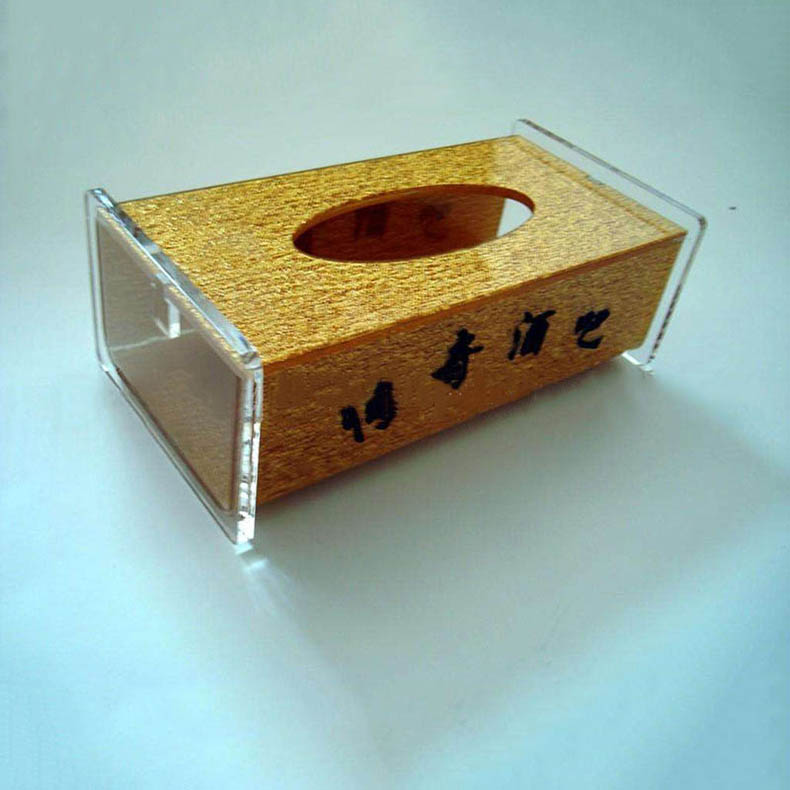
Printing and Branding
One of the most effective ways to customize the box is through printing. You can print your logo, brand name, or product information on the acrylic surface. There are several printing methods available, such as screen printing and digital printing. Screen printing is suitable for large - scale production and offers a durable finish, while digital printing allows for more detailed and complex designs.
Lighting
Adding lighting to your display box can significantly enhance the visual impact. LED strip lights are a popular choice as they are energy - efficient, long - lasting, and come in various colors. You can install the lights along the edges or inside the box to create different lighting effects, such as spotlighting or backlighting.
Step 5: Find a Reliable Manufacturer
Once you have finalized your design, it’s time to find a manufacturer. Look for a company with experience in acrylic fabrication and customization. Check their portfolio to see if they have worked on similar projects. Request quotes from multiple manufacturers and compare their prices, quality, and turnaround time. Make sure to ask about their production process, including how they handle cutting, polishing, and assembly.
Step 6: Quality Control
Before accepting the final product, conduct a thorough quality control check. Inspect the box for any scratches, cracks, or uneven surfaces. Check the accuracy of the dimensions and the functionality of any customization elements, such as the lighting or the printing. If there are any issues, communicate with the manufacturer immediately to have them resolved.
Step 7: Assembly and Installation
If the display box is delivered in parts, follow the manufacturer’s instructions for assembly. Make sure all the components fit together properly. If you have added lighting, test it to ensure it works correctly. Once assembled, place the box in the desired location and carefully arrange the items you want to display.
In conclusion, customizing a 45454.5 transparent acrylic display box involves careful planning, from defining your purpose to the final assembly. By following these steps, you can create a unique and effective display box that meets your specific needs and showcases your items in the best possible way.