Introduction
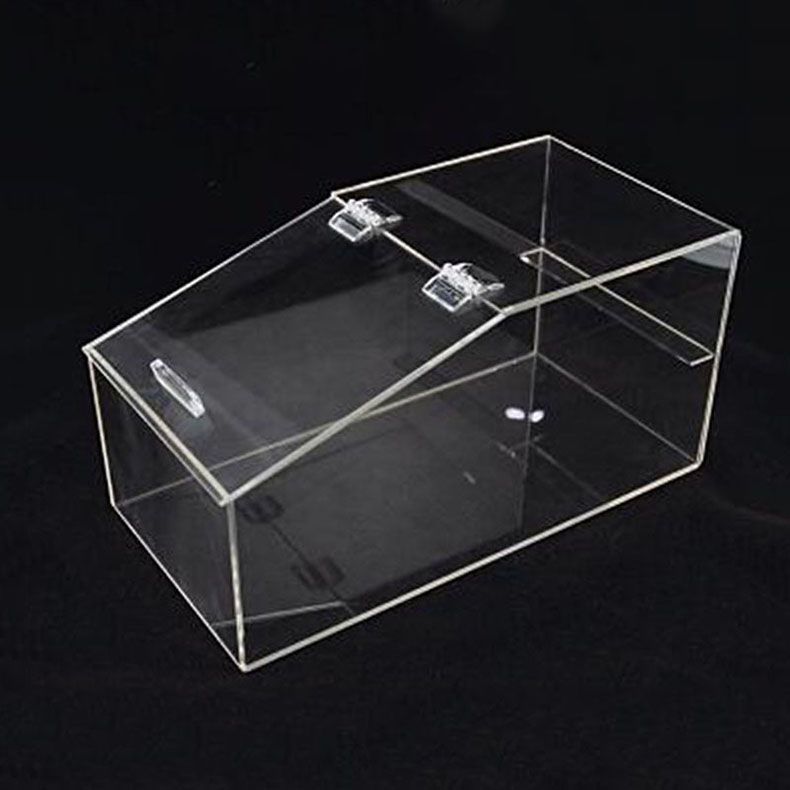
Acrylic display cases are a great way to showcase valuable items, collectibles, or products. Wall - mounted acrylic display cases not only save floor space but also add an elegant touch to any room. However, proper installation is crucial to ensure the case is secure and the items inside are safe. This guide will walk you through the step - by - step process of installing an acrylic display case wall mount.
Step 1: Gather Your Tools and Materials
Before you start the installation, you need to gather all the necessary tools and materials. Here’s a list of what you’ll typically need:
Tools: A drill, screwdriver, measuring tape, level, pencil, stud finder (if applicable), and a utility knife.
Materials: The acrylic display case, wall - mounting brackets provided with the case, appropriate screws or wall anchors depending on your wall type (drywall, concrete, etc.), and possibly some mounting tape for additional stability.
Step 2: Choose the Right Location
Selecting the right location for your wall - mounted acrylic display case is essential. Consider the following factors:
Visibility: Choose a spot where the display case can be easily seen, such as in a hallway, living room, or storefront.
Safety: Make sure the location is away from high - traffic areas where the case could be accidentally bumped or damaged.
Wall Type: Ensure that the wall can support the weight of the display case. Studs in a drywall are the strongest support, but if there are no studs, you’ll need to use appropriate wall anchors.
Step 3: Measure and Mark the Wall
Use a measuring tape to determine the exact position where you want to install the display case. Mark the center point of the area on the wall using a pencil. If your display case comes with multiple mounting brackets, measure and mark the positions of each bracket according to the manufacturer’s instructions. Make sure the marks are level using a level tool. Double - check your measurements to ensure accuracy.
Step 4: Locate Wall Studs (if applicable)
If you’re installing the display case on a drywall, it’s best to attach the mounting brackets to wall studs for maximum stability. Use a stud finder to locate the studs behind the wall. Mark the edges of the studs on the wall with a pencil. If the mounting bracket positions don’t align with the studs, you may need to use wall anchors instead.
Step 5: Prepare the Wall
If you’re using wall anchors, drill holes into the wall at the marked positions. The size of the holes should match the size of the wall anchors. Insert the wall anchors into the holes, tapping them gently with a hammer until they are flush with the wall surface. If you’re attaching the brackets to studs, drill pilot holes into the studs to prevent the wood from splitting when you insert the screws.
Step 6: Attach the Mounting Brackets
Take the mounting brackets provided with the acrylic display case and align them with the marked positions on the wall. Insert the screws through the holes in the brackets and into the wall anchors or studs. Use a screwdriver or drill to tighten the screws securely. Make sure the brackets are level and firmly attached to the wall. Check the stability of the brackets by gently pulling on them.
Step 7: Prepare the Acrylic Display Case
Before mounting the display case on the wall, check it for any damage or scratches. If there are any protective films on the acrylic, carefully remove them using a utility knife. Some display cases may require you to assemble certain parts before mounting. Follow the manufacturer’s instructions to assemble the case if necessary.
Step 8: Mount the Acrylic Display Case
With the help of another person, lift the acrylic display case and align it with the mounting brackets on the wall. Carefully slide the case onto the brackets, making sure it fits snugly. Some cases may have additional locking mechanisms or clips to secure them to the brackets. Follow the instructions to lock the case in place.
Step 9: Check for Level and Stability
Once the display case is mounted, use a level to check if it is perfectly horizontal. If it’s not level, gently adjust the position of the case on the brackets until it is. Then, give the case a gentle shake to test its stability. If it feels loose, double - check the screws and brackets to ensure they are tightened properly.
Step 10: Final Touches
After ensuring the display case is securely mounted and level, you can add your items to the case. Arrange them neatly and make sure they are well - presented. You may also want to clean the acrylic surface to remove any fingerprints or smudges.
In conclusion, installing an acrylic display case wall mount requires careful planning, accurate measurements, and proper use of tools and materials. By following these steps, you can successfully install a wall - mounted acrylic display case that will showcase your items beautifully and safely for years to come.


